Showing posts with label diy. Show all posts

Wednesday, December 21, 2011

Nature's lip stain

Warning! Many pictures of my lips are in this post. Smooch! 


Can you tell that one side of my lips is pinker than the other? I was juicing some beets for smoothies and wanted to see what beet lip stain would look like on. I love lip stain. Unfortunately, blogger doesn't capture the true color of the the stain. It's a lot pinker then it looks. Not hot pink, just a pretty rose pink.

Here's another picture of the stain being only one side. 


Here it is on both sides with some gloss on top. It really got me thinking about making a lip stain made out of beets. How fun would that be! 

Top picture is several layers of fresh beet juice. Bottom picture is one layer of condensed syrup beet juice. Again, blogger doesn't show the true color. Ugh. Does anyone know how to override this?


I froze the beet juice into ice cubes and when I took them out the next day I noticed that there was a condensed syrupy layer of beet juice sitting on top of the frozen part. This really got me thinking about condensing the juice more and seeing if it could be blended into stain/lip balm. I recently whipped up a heavy lip balm for the winter season, so I'm thinking of adapting the recipe to include some beet color.
 I read you can make it with dried beet juice, but it has a grainy texture. Need to stay away from grainy.

I'm kinda excited about trying it out, I love this kinda of experimentation. I'll let you know what my results.

Friday, November 18, 2011

DIY: Dry Shampoo Spray


Dry shampoo. Have you tried it? Its what you use when you need to wash your hair yet don't have time to take a shower. I think everyone has encountered this dilemma once or twice.

Today, I'm going to teach you my rendition with 3 simple ingredients you should already have. If you don't, then they can be found in any grocery store.

This recipe came to my mind a couple days ago when I realized my hair needed a spruce up, yet I didn't have the time for an actual hair washing. It felt like a AHA! moment, as a little lightbulb turned on in my head. 

I have to say that this Dry Shampoo isn't dry at all. But like the name says, it's a spray. I kept the dry part in because its a familiar name/product and it gives the same results.


What you need:
1 tbsp of cornstarch
4 tbsp of water
1 tbsp of rubbing alcohol ( I used ethyl, found it at Walgreens) 
small measuring glass, cup, bowl...whatever.
a small spray bottle (shown in first picture)

Mix it all together, pour it into your spray bottle and shake it up!

To Use:
Spray in on your scalp, in your hair and anywhere the your hair needs to be de-greased. You do not need to drench your scalp, just dampen it up. 

Side note: cover or close your eyes, alcohol in eyes is not fun. Also, if you don't like to the use of alcohol in your hair products( i.e. hairspray) then this DIY might not be for you.

Run a comb or your fingers through your hair to distribute it evenly.

Let it air dry or quickly blast your scalp with a hair dryer, which is my favorite method. We are going for speed here. 

Repeat if necessary.

 All done. Rejoice! you can go another day without washing your hair, and no one will notice.

Why it works,
Both alcohol and cornstarch are de-greasers. Cornstarch does not dissolve fast so you will notice that after the water has evaporated the cornstarch will still remain. Pretty neat, huh!

I hope you like this. Let me know how this worked out for you. 

After-thought: I only recommend using this at max once a week. You know, for the day you really should've taken a shower but didn't. We've all been there.I'm also working on a couple of different versions of that don't include the alcohol, so stay tuned, or come back again. 

Thursday, May 5, 2011

Redesigning a Ugly Shirt Part 1

  In a past post  I showed a picture of this 80's shirt I said I was going to re-make into something fabulous for me to wear. In honesty, I actually don't know if it is from the 80's or 90's...maybe you can tell...all I do know that it caught my eye in the resale shop.
Ugly shirt $3.99

 I started the process of sketching out my design ideas to see which one would look best. And I have to admit, I started to get scared. The longer my eyes lingered over the shirt's bright, bold pattern and lack of detail in shape I really started to wonder if I bit off more than I could chew. Never the less I have forged on with the remake.

  I looked for inspiration on the net, hoping that something would catch my eye.
like this!
 There were some details I fancied, but in trying to gain added inspiration, there were some things I had to consider:
  • Respect the limitations. There are things I can and can't do while working with a already made shirt.  
  • Moderation is key with busy prints. I don't want to overwhelm anyone with crazy floral while they are forced to look at me walking by them. Nor do I wan't to overwhelm myself while looking at me. I must take away to gain.
Here are my design sketches. Please do not be intimidated by my awesome drawing skills.
Actually I should say don't let my novice drawing skills distract you from the designs. No your eyes are not tricking you,  its just that I can't seem to draw the shape of the shirt the same three times in a row.

I wanted to do a wide open sided tank. I like the idea of the sleeves becoming pockets, but that means I actually have to lengthen the shirt so the pockets don't hang out at the bottom of the shirt. My answer to that is is crocheting a border. At first I decided to crochet it in dark navy, but as I was drawing I had the thought that maybe dark grey would look better.  

Which one do you like best?

I would love to hear your thoughts about this. What do you like and what don't you like. At this point I'm obeying the rule of measuring twice, cutting once. Even though I'm not measuring, I am planning this out  as much as possible because I would like to wear it for more than one year.


Danielle


Wednesday, April 27, 2011

Little Lavender Dryer Sachet- add more excitement to your laundry!


We actually haven't used dryer sheets in a while, close to three years. We decided along time ago that dryer sheets was not a must have item in our household. Mostly because of the film it leaves on the fabric. It blocks some absorption from the material, and frankly, when I get out of the shower or wash my hands I really want my towel to wick the moisture away the first time.
So this little dryer sachet came about while I was doing laundry (of course!). I re-found my lavender today and remembered that I have wanted to make one of these for a while. So while my clothes were a washing, my sewing machine was a sewing. 

  • This project is easy!
  • It takes around 1-11/2 hours!
  • Perfect for when you want to be creative but don't want to start a major project! 
  • Use your fabric scraps!
Get Started 


I am going to show you the basic instructions. The little details like bear applique and shape of sachet can be changed to your liking.

List of materials 
  1. Two different coordinating fabrics, cut in a half circle (use a medium sized bowl)
  2. 3/4 cup of lavender flowers and 1/4 cup of flax seed ( more or less depending on the size of your actual half circle)  
  3. Wool applique. Use real wool, it will help eliminate static
  4. funnel and or spoon
  5. sewing machine


Looking mighty tough with his tattoo heart

First you need to sew your applique on one side of your sachet. Tip! Sew slow, you will have a better result with your applique. Now place the right sides together. 


Make sure you sew all along the edges about 1/4 inch, and make little cuts so when you turn it right side out it with have a smooth form on the inside.  Now turn it right side out and fill.
 You might have to also use a spoon for the lavender, like I did. Fill until there is about 1/8 of empty space left. Pin the little opening together and sew shut.


There you have it! Extremely easy and you can feel accomplished for making something in a couple of hours. And its practical!
 This would be great sewing project for a young child while you are teaching them how to do their own laundry. Make several to give as a gift. 

This one is bigger then the ones Trader Joes sells. They say each one should last 3 months. This one will last longer. Squeeze several times in hand before throwing them into your dryer, to re-release the fragrant lavender flowers. 


Happy Sewing!
Danielle


Coming Soon:
See how I will remake this ugly find into vintage trendy. Stay tuned to find out how!


Thursday, July 15, 2010

Vanilla and Lavender Body Lotion

 I decided to make my own lotion the other day. It is so easy to make ORGANIC body lotion, packed with good stuff like Shea Butter and Coconut Oil. This recipe only has 3 ingredients, besides kitchen tools.

Here's what you need:

3 Tablespoons of Shea butter  
2 Tablespoons of Coconut oil
1/4 cup of fragrant infused oil 
* I made my own lavender and vanilla infused olive oil, and I'll tell you how too*
1 squirt lotion bottle
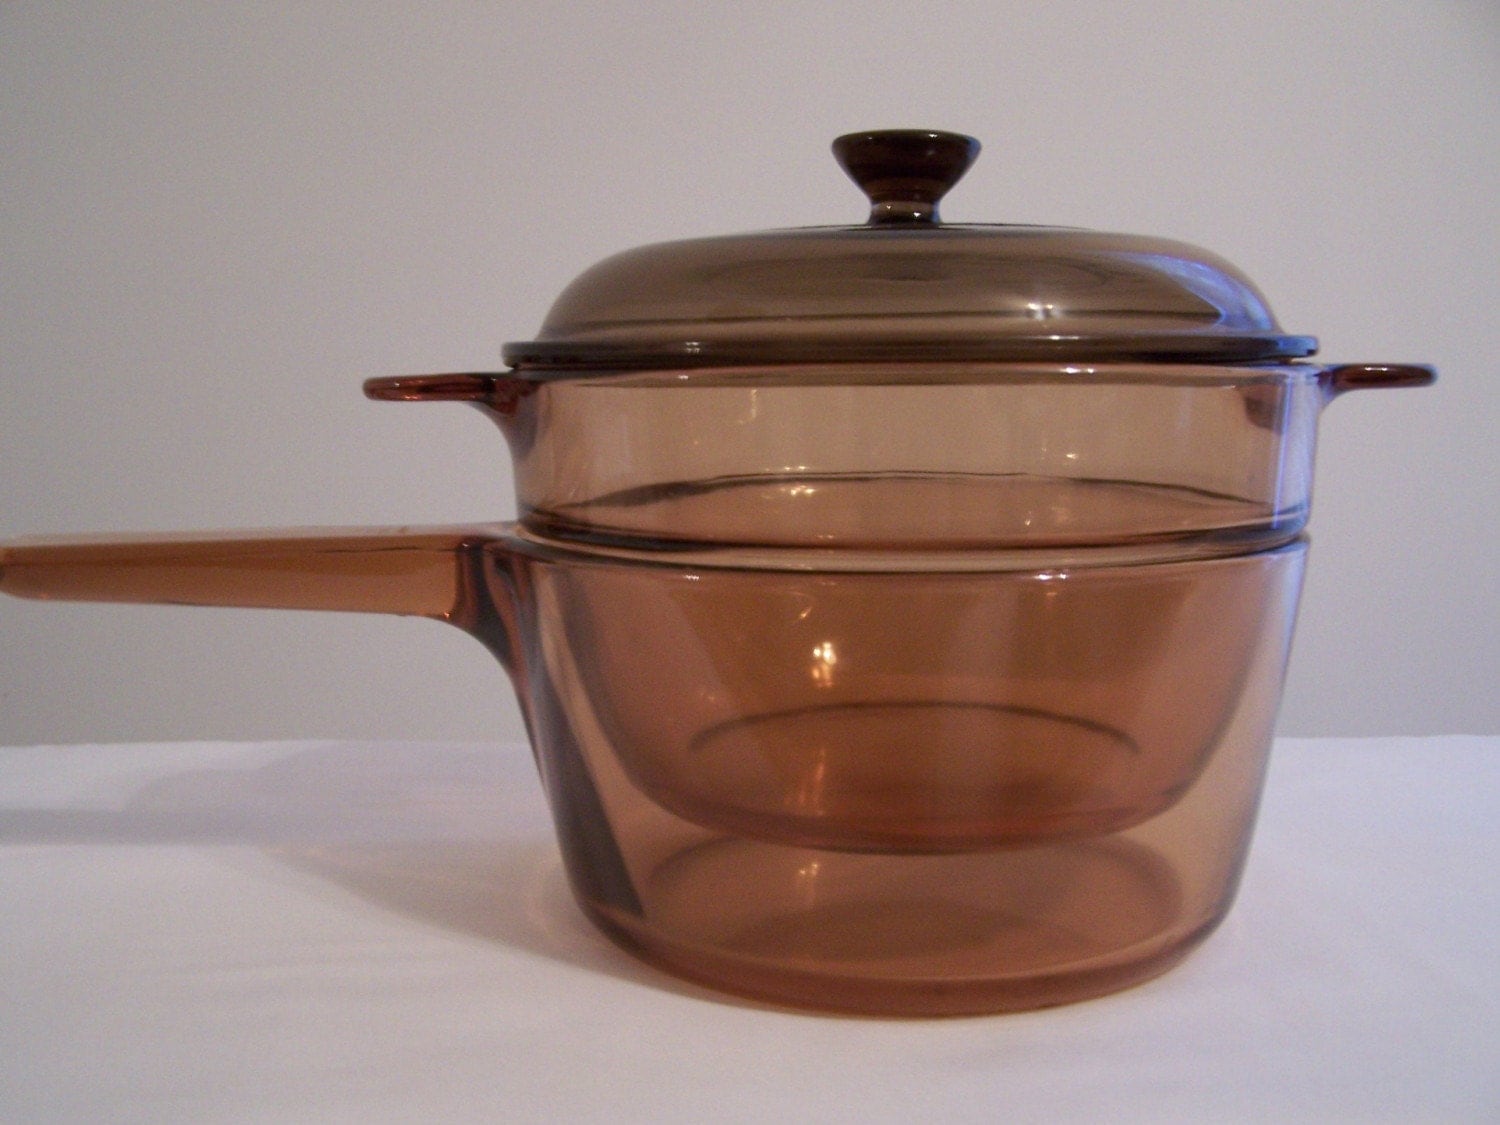
a double boiler
a funnel


This is so simple and it takes less then 30 minutes.

Double Boiler from smokymtntreasures

1)In your double boiler melt the 2 tablespoons of coconut oil and the 3 tablespoons of Shea butter


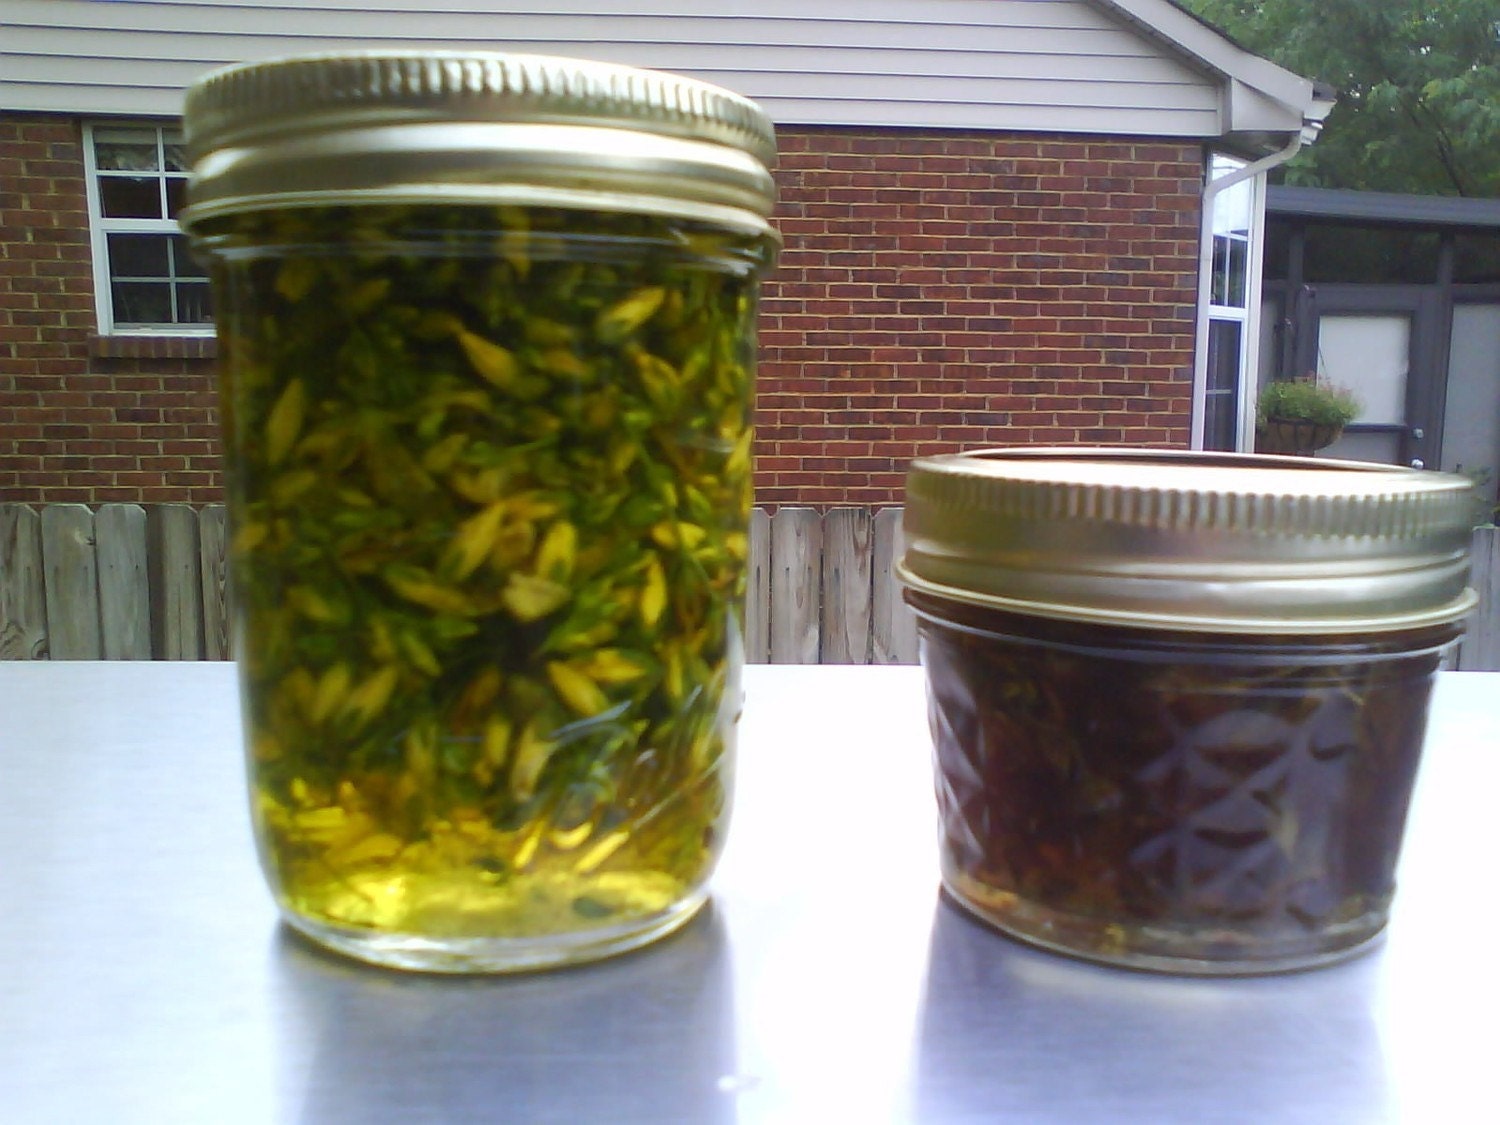
Infused oil from Glorybeherbals

2) Once the oils are melted, pour in your 1/4 cup of infused oil.

( I made my own two months ago and I'll tell you how. I took a cup of dried lavender buds, 1 vanilla bean and stuffed them in a glass jar. I then poured olive oil in until it covered the flower buds. It needs to sit for at least 2-6 months and be shaken occasionally to allow the herbs and oil to "marry", as the cooks say it)

3) Gently stir until all of the oils are blended
4) Pour the liquid through a funnel into the lotion jar

Remember its hot! So use pot holders.

5) put it in the fridge to cool
6) Use it and smell great!

I seriously smell like a baked good, hot and fresh from the oven whenever I use this. Its the combination of coconut, lavender and vanilla bean that makes it smell so good.


Some awesome benefits of Coconut Oil and Shea Butter
This was given to me from a friend who got it on the website heartofwisdom.com

Coconut Oil


Painting from aidamarkiw

Studies show that virgin coconut oil completely heals, eliminates, reduces or protects against these ailments:
  • liver disease
  • kidney disease and bladder infections
  • yeast that causes candida, jock itch, ringworm, athlete’s foot
  • skin infections psoriasis, eczema, and dermatitis
  • bacteria that cause pneumonia, earache, throat infections
  • bacteria that cause dental cavities, food poisoning, urinary tract infections
  • bacteria that cause meningitis, gonorrhea, and dozens of other diseases
  • benign prostatic hyperplasia (enlarged prostate)
  • breast, colon, and other cancers.
  • periodontal disease and tooth decay
  • hemorrhoids
  • cystic fibrosis
  • excess weight
  • osteoporosis
  • epileptic seizures
  • chronic fatigue syndrome
  • wrinkles, sagging skin, and age spots
  • dandruff, and the list goes on and on


Shea Butter


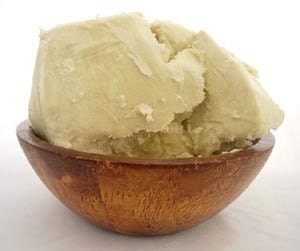
Unrefined Shea Butter from beijaflores

Shea butter info taken from treasuredlocks.com

Shea Butter can provide relief from everything from just dry skin to many minor dermatological diseases (if you have a serious skin condition, you should see a doctor).  It has been clinically shown to provide benefits.  Here are some of the benefits of Shea Butter for the skin:

  • Daily skin moisturizer (face and body)
  • Dry skin relief
  • Dry scalp
  • Skin rash- including diaper rash
  • Skin peeling, after tanning
  • Blemishes and wrinkles
  • Itching skin due to dryness
  • Sunburn
  • Shaving cream to reduce razor irritation
  • Small skin wounds
  • Skin cracks
  • Soften tough skin on feet (especially heels)
  • Stretch mark prevention during pregnancy
  • Minor burns
  • Eczema
  • Sun and wind protection
  • Even skin tone
  • Reduce blemishes and scarring
  • Eliminating scalp irritation from dryness or chemical processing
  • Preventing bumps after shaving
  • Reducing acne (especially in combination with African Black Soap)
  • Absorbs quickly without leaving a greasy residue
  • Helps restore elasticity to skin
  • Restores luster to hair


Have fun making this and let me know how you smell from this wonderful body lotion.


Thursday, July 8, 2010

The In Season/ Out of Season Sweater Makeover

 Since I had several people tell me they liked the first sweater makeover, I decided to do another sweater makeover.  This one I'm super happy about because I got two makeovers out of one sweater.  Boot socks for winter and a super cute tank for summer.

Lets Start!

Heres the sweater and I know that your thinking "Stripes?!". Ok maybe I was thinking that. I've gotten a lot of wear out of it but I was feeling that it needed to have a new look.

 
So I placed it on the floor took a picture while Lincoln wasn't stepping on it. Lincoln has this thing about stepping on anything and everything I place on the floor. I cut around were the sleeve meets the shoulder ( around the border) and around the armpit.
See that little foot, thats Lincoln about to pounce on the separated sleeve.  Cut across the sleeve were the  tip of the armpit curve is.
 
Slip them on and wear them with your cool new boots you got from Goodwill. Aren't they rad! Only 10 bucks friends.

More cool sock and cool boot pictures


If you notice a slight "fuzziness" to the picture its because I realized I forgot to dust my mirror half way through the photo shoot. The boots are still awesome despite this though.

Second Makeover
Remember how I just removed the sleeves? Well that left me this cool, fresh, easy to look awesome in tank top. 


The sweater color is faded in this one, but its the best shot.


Not the best shot but the best color and I like my face in this one.


I should also say that the back of the tank also looks like the front of the tank. I'm going to take it to the next level and crochet a tiny border around the arms so it can have a nice finish and look more professional. I'll show you when I'm done with that.

I would love to know what you think of this!

Thanks!
Danielle


make it wear it